In this workshop, you'll learn how to build a beautiful and durable end-grain cutting board from scratch, using techniques similar to the tutorial by Hess Woodwork. We’ll walk through every step, from wood selection to glue-up, planing, sanding, and finishing.
Because end-grain boards require multiple glue-ups that need to dry overnight, the workshop is spread over three sessions:
Session 1 (±1.5 hours)
We select, mill and prepare the wood strips, lay out the pattern, and complete the first glue-up.
Session 2 (±1 hour)
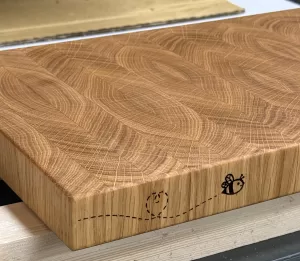
After the first glue-up has cured, the board is cut, flipped to expose the end grain, and glued again to form the final pattern.
Session 3 (±1 hour)
Once fully cured, we flatten, sand, and apply a food-safe oil finish to complete the board.
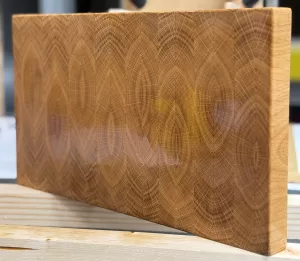
Introduction to end-grain boards: benefits, design considerations, and wood choice
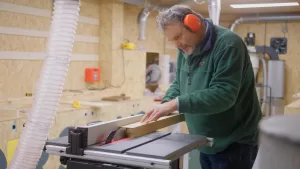
Milling and preparing wood strips to precise dimensions
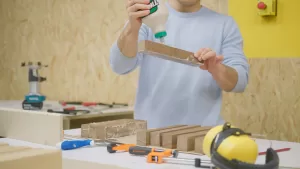
Laying out and aligning an end-grain pattern
Glue-up techniques and clamping strategies for strong joints
Flattening and surfacing for a smooth, even board
Sanding through coarse and fine grits
Applying food-safe finishes (oil, wax, etc.)
Tips for maintenance and long-term care
By the end of the workshop, you’ll either have contributed to a finished chopboard or, if you choose, you can build your own from start to finish.
Participation options
Help-out option: Join the build as part of a group and assist in making a communal chopboard. (Lower fee, materials covered by workshop)
Own build option: Pay a material surcharge and follow along to craft your own individual end-grain board. (You take home your own board at the end)
All tools, safety gear, glue, and finishing products will be provided. Just bring enthusiasm and patience, we’ll guide you through each step.